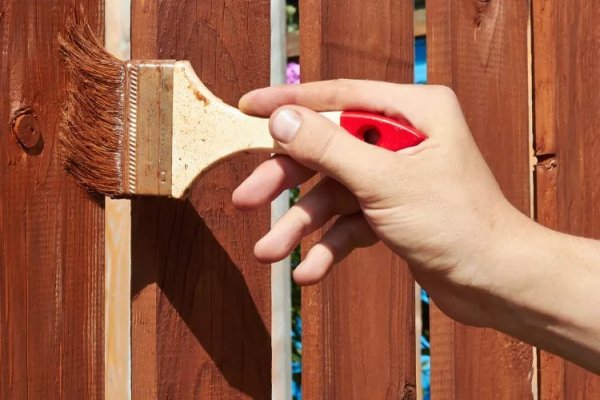
For homeowners looking to refresh their outdoor space, staining a wooden fence can be a rewarding weekend project. While the task may seem intimidating, it is well within reach for most DIY enthusiasts, offering both aesthetic and protective benefits. With the right tools and preparation, you can transform a weathered fence into a polished feature of your property.
The process involves more than just applying a coat of stain. Proper preparation, including cleaning and repairs, is essential to ensure the stain adheres well and lasts. According to industry estimates, hiring a professional to stain a fence costs an average of $1,700, but doing it yourself can save up to 60% of that expense. The final cost, however, varies significantly based on the size and style of the fence—large privacy fences require more stain than smaller rail-style designs.
Choosing the Right Application Method
One of the first decisions is whether to use a sprayer or a roller and brush. While both methods can achieve a good result, a sprayer is significantly faster and helps apply an even coat with less effort. Some stains are formulated for manual pump sprayers, while others work best with airless sprayers, similar to paint. It's important to read the manufacturer's instructions and, if unsure, consult a paint specialist at your local hardware store.
For those new to staining, the forgiving nature of fence work is a plus. Unlike interior painting or floor staining, fence staining does not require high precision, making it an ideal project for beginners.
Prepping the Fence for Stain
Before any stain touches the wood, the fence must be thoroughly cleaned. A pressure washer is the most effective tool for removing dirt, grime, and mildew. Use a nozzle with a wide angle and maintain a safe distance to avoid damaging the wood. After washing, allow the fence several hours to dry completely; shaded areas will take longer.
If the fence is new, patience is required. Pressure-treated wood can take weeks or even months to dry sufficiently for staining. A simple water test can help: sprinkle water on the wood—if it soaks in, the fence is ready; if it beads, more drying time is needed.
Step-by-Step Staining Process
Once the fence is clean and dry, inspect it for damage. Replace any rotten boards and fill holes with exterior-grade wood filler. Then, mix the stain according to the instructions—many stains recommend gentle stirring to avoid bubbles. Load the sprayer and test it on a scrap piece of wood or cardboard to adjust the distance and speed for an even application.
When staining, work in consistent passes, overlapping each one to maintain a wet edge. If the stain begins to puddle, you are likely too close or moving too slowly. Adjust accordingly to achieve a light, even coat. After the first coat, allow the stain to dry as per the manufacturer's recommended time before applying a second coat or sealer.
Wood stain typically lasts three to five years on a fence. Restaining every five years protects the wood, while a three-year cycle keeps the fence looking its best.
Tips for a Professional Finish
To ensure the best results, follow these practical tips: clean the fence thoroughly for proper stain penetration, allow it to dry fully, and apply multiple light coats rather than one heavy coat. Look for a stain with a built-in sealer for added protection. If your fence has mismatched boards, a darker stain can help blend them. Always check the weather forecast to avoid rain and ensure mild temperatures. Finally, investing in a high-quality stain can provide longer-lasting coverage.
By following these guidelines, homeowners can achieve a professional-looking finish while saving money and protecting their fence for years to come.




Leave a Comment