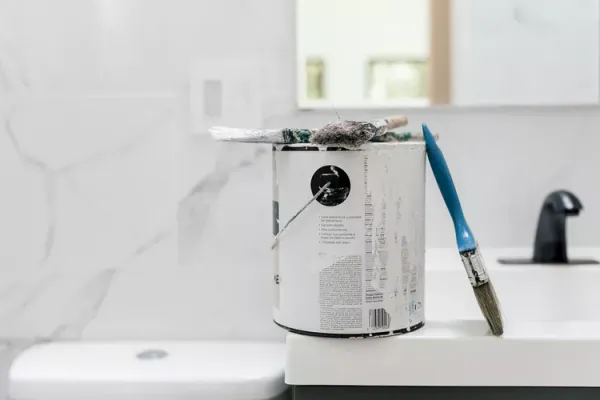
Painting a bathroom is a project that demands more than a fresh coat of color; it requires a strategy tailored to a space that endures constant moisture, frequent use, and tight quarters. Unlike a bedroom or living room, where a quick dusting might suffice, a bathroom's walls are prone to soap scum, humidity, and water splashes, making preparation and product selection critical to a finish that lasts. According to a project overview from The Spruce, the task typically takes 4 to 6 hours of active work, with a total time of 8 to 10 hours, and costs between $50 and $100 for materials, assuming a beginner-level skill set.
The first decision—choosing the right paint—sets the foundation for success. Bathrooms are inherently wet environments, and water will inevitably come into contact with the painted surface. To combat this, some manufacturers offer paints specifically formulated for bathrooms, containing mold-inhibiting agents and a surface that better resists moisture. Even if a specialized product isn't chosen, investing in a higher-quality brand is often wise. Cheaper paints may share similar pigments but contain fewer solids—the components that form the protective acrylic-latex layer on the wall. More solids translate to greater durability, making a slightly higher price tag a worthwhile investment for a room that sees as much wear and tear as a bathroom.
Sheen also plays a pivotal role in moisture resistance. Glossier finishes, like those on shower tile, repel water and debris more effectively than flat or matte finishes, but they also highlight wall imperfections. For walls with rough spots or blemishes, an eggshell finish offers a middle ground, providing some wipeability without accentuating flaws. The specific areas of the bathroom dictate the sheen choice: the drywall above the shower or tub stall, which is directly exposed to steam and splashes, benefits from a higher gloss, while drier zones require at least a satin or eggshell finish. Flat or matte paints are not recommended, as they can develop water streaks over time.
Before opening a can of paint, calculating the exact amount needed is a practical step to avoid mid-project interruptions. Running out of paint forces a trip to the store, which can be inconvenient and may result in color mismatches if the batch differs. Once the quantity is determined, the next critical phase is cleaning. In other rooms, a light dusting might suffice, but bathrooms demand a more thorough approach. Soap scum and embedded grime can cause paint to peel, or even prevent it from adhering in the first place. Trisodium phosphate, or TSP, is an inexpensive cleaner that effectively removes this buildup without compromising the paint job, making it a valuable tool in the preparation process.
Removing Obstructions for a Cleaner Job
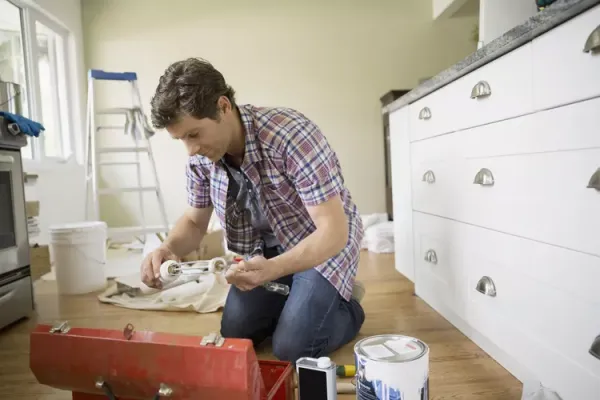
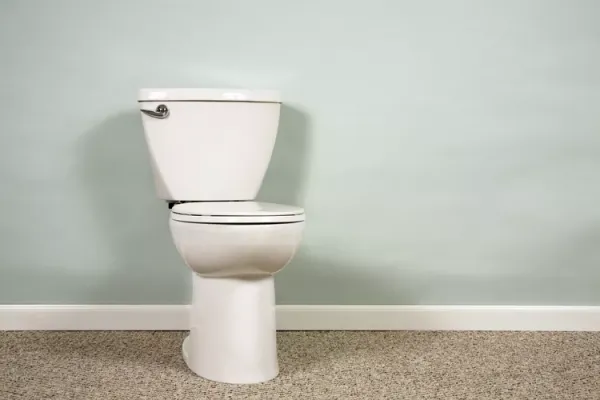
One of the most challenging aspects of bathroom painting is working around fixtures, particularly the toilet tank. The narrow gap between the tank and the wall is nearly impossible to paint neatly, requiring meticulous taping and repeated brushwork. Instead of struggling with this obstruction, the guide recommends removing the tank entirely. This process is simpler than it sounds: turn off the water supply at the shutoff valve, flush the toilet to empty the tank, and then detach it, keeping old towels on hand to catch any spills. The base of the toilet, which is messier, stays in place. Similarly, removing switch plates, outlet covers, mirrors, exhaust vent grilles, and towel racks simplifies the job and ensures clean edges. Areas that won't be painted—such as the ceiling, trim, bathtub surround, and backsplash—should be taped off, and drop cloths should protect the vanity, sink, mirror, and flooring.
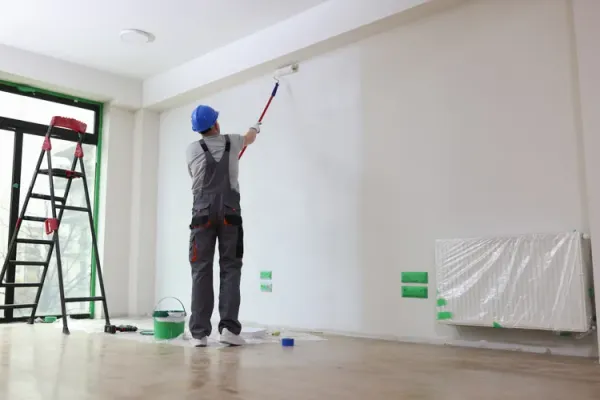
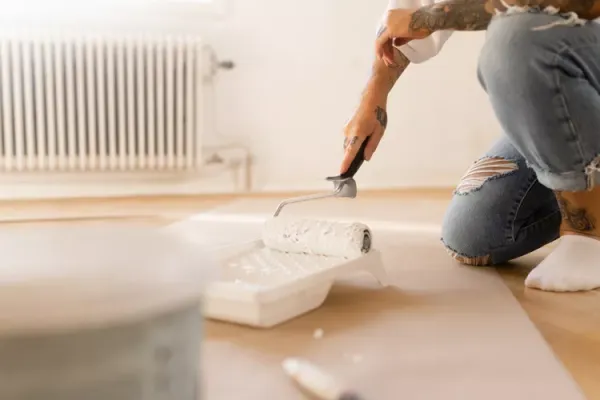
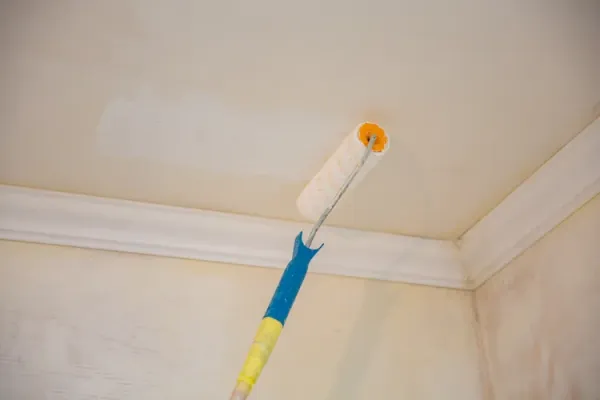
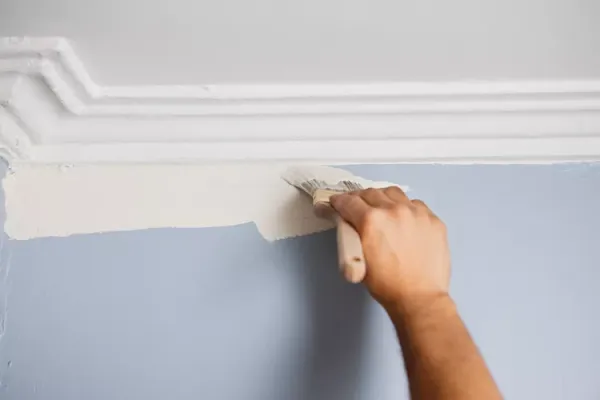
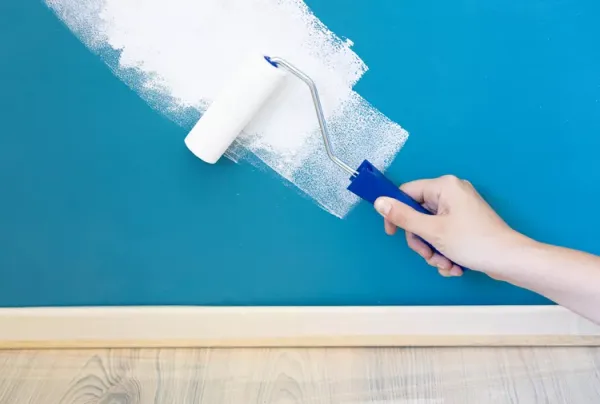
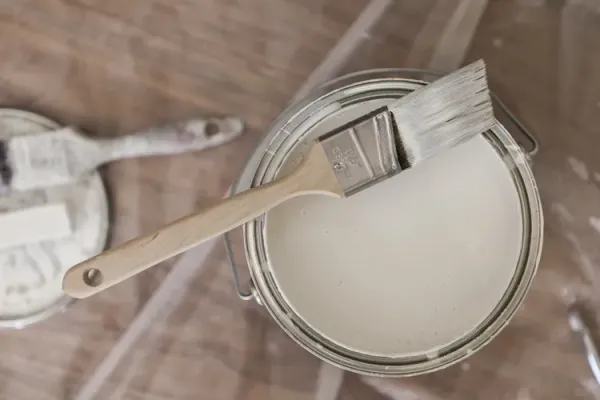
With the prep complete, the actual painting begins. Using a 2-inch sash brush to "cut in" along the tape edges, keeping the brush relatively dry to prevent drips, is the first step. Then, a roller is used to apply paint in a systematic manner: dip the roller generously, roll it out on the tray, and paint a 2-by-2-foot square using a "W" pattern, filling in the gaps with parallel passes. Working from the wet edge of each section ensures a seamless finish. After the first coat, a waiting period of at least two hours is necessary, though cooler or wetter conditions may extend this drying time. A second coat, applied with the same technique, ensures even coverage and durability.
Once the final coat has dried, the finishing touches involve removing the painter's tape, disposing of drop cloths and plastic sheeting, and reinstalling all the fixtures—faceplates, the toilet tank, towel bars, and other hardware. The result is a bathroom that not only looks refreshed but is also equipped to withstand the challenges of its environment, provided the steps are followed with care.

Leave a Comment