
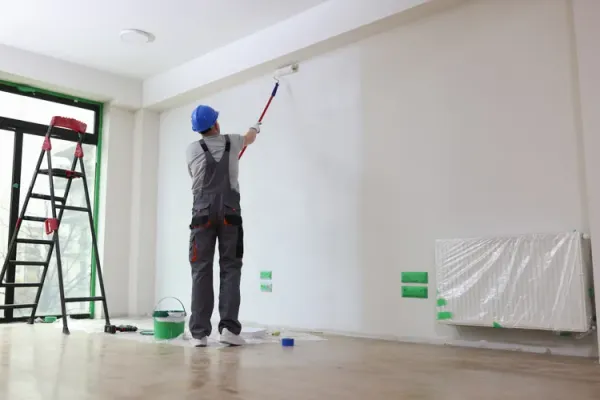
For many homeowners, painting a room is a weekend project that can quickly turn into a frustrating exercise in patchy coverage and uneven edges. But according to Ryan Beery, a franchise owner of several Color World Painting locations, a flawless finish is less about skill and more about preparation. Beery, who specializes in both interior and exterior painting, recently shared his step-by-step approach to achieving a professional-looking result every time.
Before a single drop of paint hits the wall, Beery emphasizes a critical first step: assessing safety. For homes built before 1978, the risk of lead-based paint is a real concern. He strongly advises purchasing a lead test kit and familiarizing yourself with lead safety guidelines, pointing to the EPA website as a reliable resource. This precaution is non-negotiable, especially in older properties where lead paint was commonly used.
Gathering the Right Tools
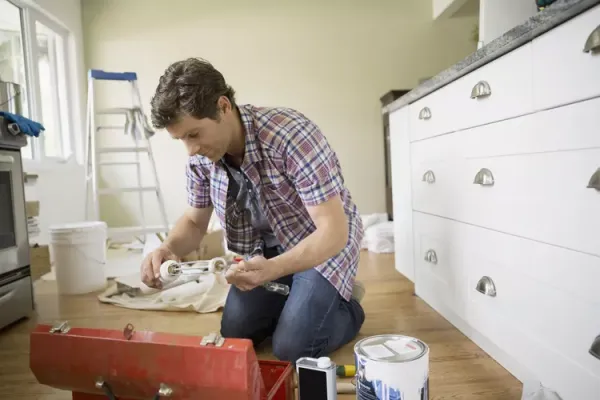
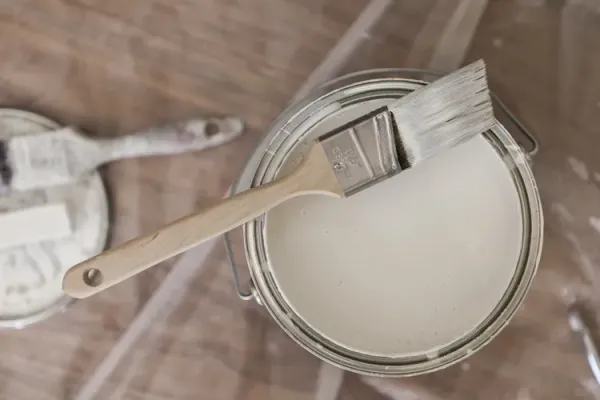
Preparation, Beery explains, is much like cooking a meal: you need all your ingredients ready before you start, so you don't have to pause mid-project. His essential supply list includes painter's tape, tarps for exterior work, rosin paper to protect interior floors—especially tile and hardwood—and a delicate surface tape for varnished areas. He also recommends investing in high-quality paint brushes. For larger projects, sanding sponges and joint compound may be necessary to address surface imperfections.
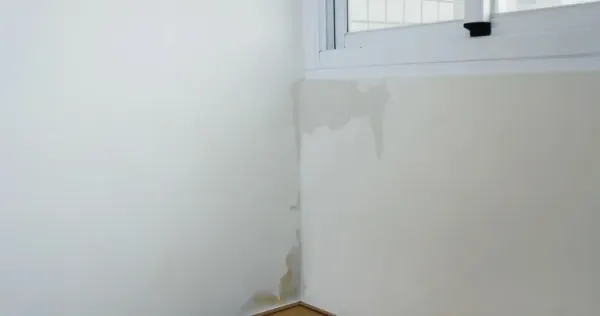
Surface preparation is where many DIYers go wrong, according to Beery. He stresses that surfaces must be "clean, dry, and dull" to ensure proper paint adhesion. The method varies by material: exterior surfaces may need power-washing with a product designed to remove oxidation, while grease-prone areas like kitchen walls should be cleaned with a degreasing agent. For glossy or high-sheen surfaces, sanding with an abrasive pad or pole sander is key to creating a texture that paint can grip.
The Tape Hack That Ensures Clean Lines
While most people know to use painter's tape, Beery offers a professional trick to keep lines razor-sharp. "Use a damp sponge on tape lines to help adhere the tape and prevent paint from getting under the edge," he says. This simple step ensures a clean line when the tape is removed. He also notes that seals around garage and entry doors can stick to fresh paint; applying petroleum jelly to these seals prevents them from adhering.
When it comes to paint selection, Beery cautions against budget brands. He recommends high-quality paints like PPG or Glidden, noting that "quality products provide better coverage, saving time and money by reducing the need for an additional coat—especially when you are making a color change." The initial investment in better paint can pay off in fewer coats and a more durable finish.
Timing the Second Coat
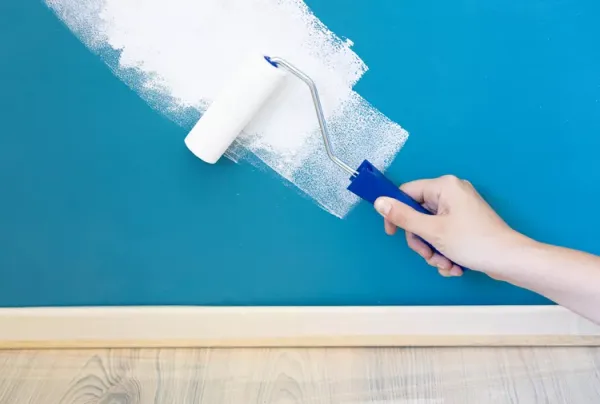
One of the most common mistakes is rushing to apply a second coat. Beery advises waiting an average of four hours, though factors like temperature and the specific product can affect this. Applying a new coat too soon can pull at the previous layer, leaving brush marks or an unwanted texture. It can also compromise coverage, potentially necessitating yet another coat.
For those planning to tackle a painting project this year, Beery's advice offers a clear roadmap. From safety checks to the final coat, each step is designed to avoid common pitfalls and achieve a smooth, long-lasting result. As Beery's tips show, a little extra preparation goes a long way in transforming a daunting DIY task into a manageable, rewarding project.
Leave a Comment