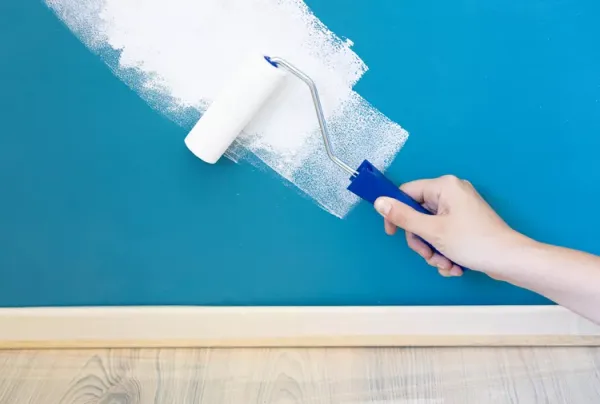
Painting a room may look straightforward, but seasoned contractors and interior designers say the gap between a satisfying refresh and a costly do-over often comes down to a handful of avoidable errors. From picking a shade in the store to rushing the final coat, the missteps are common—and entirely preventable.
Paige NeJame, owner of CertaPro Painters of the South Shore and Boston, and Mariya Snisar, head of interior design at Renowell, offered their field-tested advice on how to steer clear of the mistakes that leave homeowners with uneven color, peeling paint, or a finish that fails within months.
Why Color Tests Matter More Than You Think
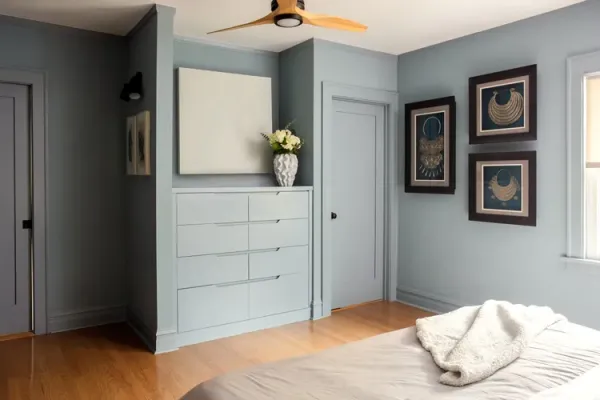
The biggest source of disappointment, according to NeJame, is choosing a color that looks different once it's on the wall. She advises buying sample pots and painting them directly on the wall or on a poster board, then living with the swatches for a few days. "Look at them in the morning and evening, as the light in the room will affect the color," she says. "I find that almost immediately, you'll be able to eliminate a few colors that are all wrong."
Lighting shifts throughout the day, and what seemed perfect under store fluorescents can appear dull or overly bold in natural sunlight. Testing in the actual space prevents the costly mistake of painting an entire room only to repaint it.
Matching the Paint Type to the Room
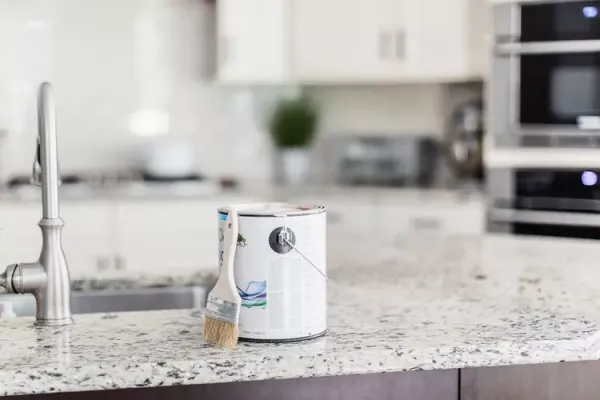
Beyond color, the type of paint is a critical decision that many DIYers overlook. Snisar points out that indoor and outdoor paints are formulated differently: "An indoor paint won't be able to withstand the harsh sunlight and rain, while outdoor paint has more chemicals that may be harmful to people who have sensitivities."
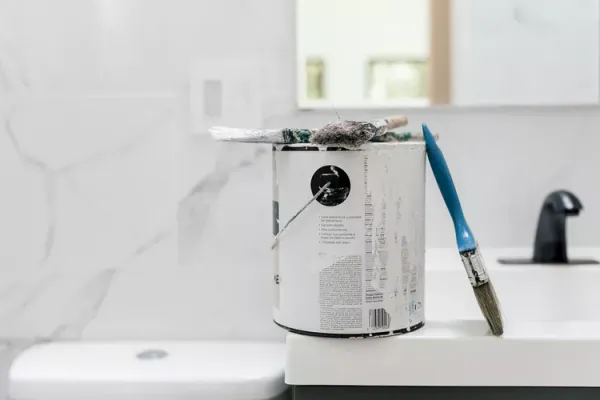
For kitchens and bathrooms, where moisture levels are high, she recommends a satin enamel finish. However, she cautions that this type has a longer drying time, making it less suitable for bedrooms where a quicker turnaround is often preferred.
Surface Prep: The Unseen Foundation
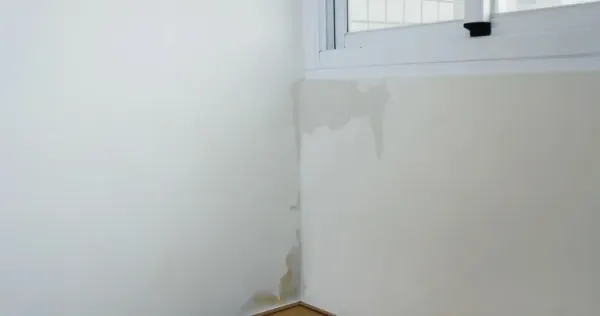
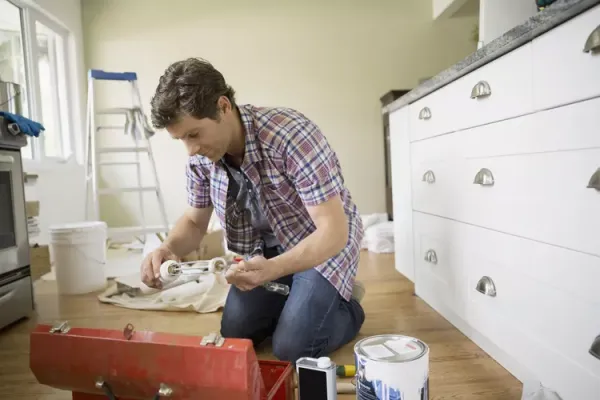
Skipping prep work is a recipe for poor adhesion and premature wear. Walls may look clean, but they often harbor small holes and cracks from picture hooks and settling. "These can be filled with wall filler, allowed to dry thoroughly, and sanded before being painted," Snisar explains.
Even if the walls are flawless, dust and grease can prevent paint from bonding. Wiping down surfaces with a mild soap solution is a step that many rush past. After cleaning, applying a primer is essential. "This will enhance the paint's color and prevent peeling and chipping," she adds.
Taping Off Boundaries: A Small Effort, Big Payoff
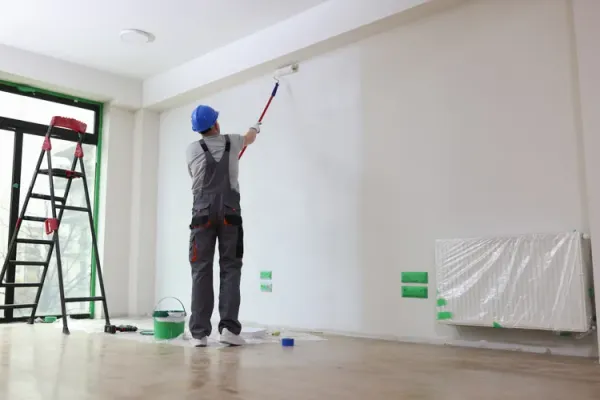
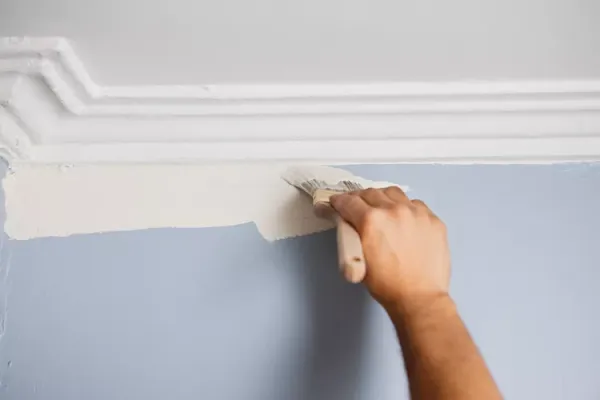
Protecting trim, moldings, and hardware is another step that saves hours of corrective work. While professional painters may have a steady hand, NeJame notes that most DIYers do not. "The time you spend taping isn't nearly as long as the time you'll spend redoing the lines or chipping paint off the doorknob," she says.
Taking a few extra minutes to tape off edges prevents drips and uneven lines that can ruin an otherwise clean finish.
Drying Time: The Patience Test
Rushing between coats is a common error that leads to uneven shading, cracking, and peeling. Drying times vary by paint type and climate. Snisar provides specific guidance: "Water-based paints like acrylic take about one hour to dry at moderate to warm temperatures. Oil-based paints like enamel can take anywhere from eight to 24 hours to dry completely, depending on the climate. If you don't allow enamel paint to dry before applying the second coat, it could stay tacky for several days."
Patience during this phase ensures a durable, smooth finish that lasts.
While painting projects can seem deceptively simple, they require forethought and precision. For those who want extra assurance, many paint stores offer free color consultations and are happy to answer questions—helping you achieve the result you envision without the guesswork.

Leave a Comment