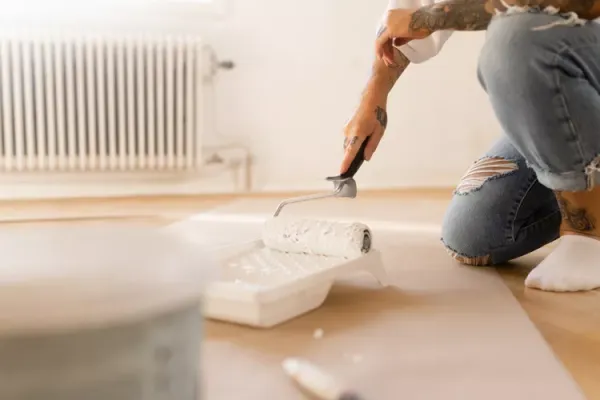
Before a single brushstroke touches a wall, professional painters agree that three preparation steps are non-negotiable: thorough surface cleaning, applying primer, and selecting the right tools. According to Ralph Peralta, owner and president of Sunset Coatings Stucco & Paint, and Zac Smith, owner of Elevate Painting, these steps are the foundation of any successful paint project, directly influencing both the appearance and longevity of the final result.
Peralta emphasizes that preparation has the greatest impact on how the finish looks and how long it lasts. "Skipping or rushing through these steps will affect paint adhesion for sure, but it will also ensure that surface imperfections show through and ruin your desired effect," he says. The first and most critical step is cleaning the wall to remove all dirt, grease, and grime—both visible and invisible. Without this, paint adheres poorly and may begin peeling within months.
Primer is the second step that experts insist on, even when changing to a similar shade. Peralta explains that primer improves adhesion and ensures the final color appears even from every angle. Skipping it can result in the paint not showing true to color, requiring extra coats, allowing stains to bleed through, and producing blotchy coverage that won't hold up as well over time.
Why Tool Choice Matters
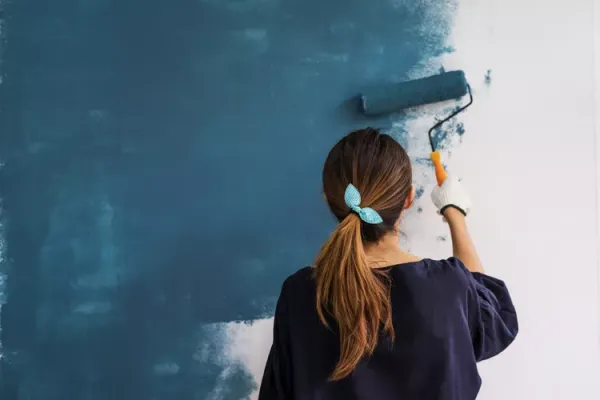
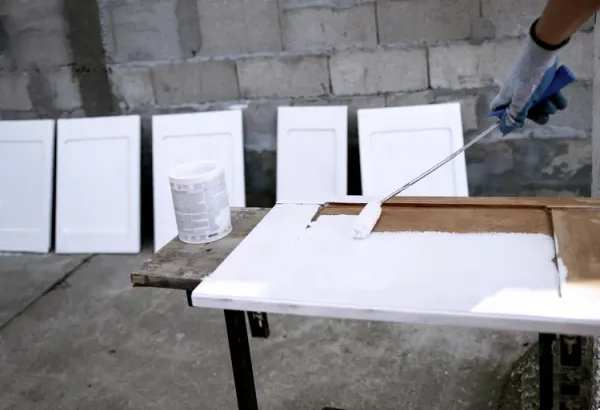
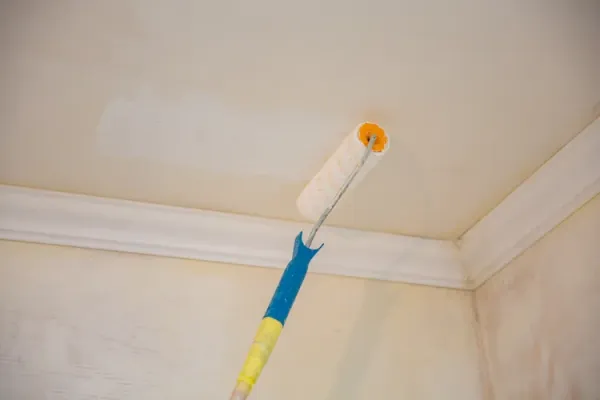
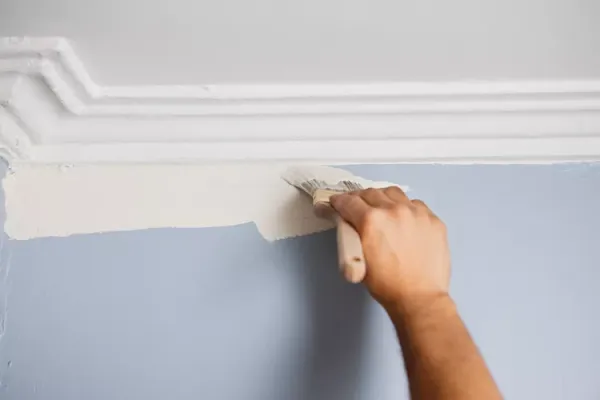
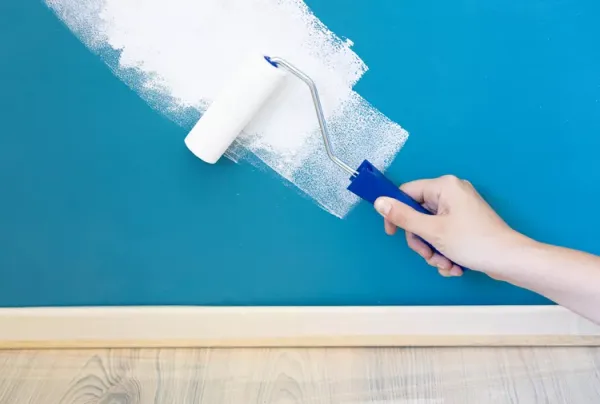
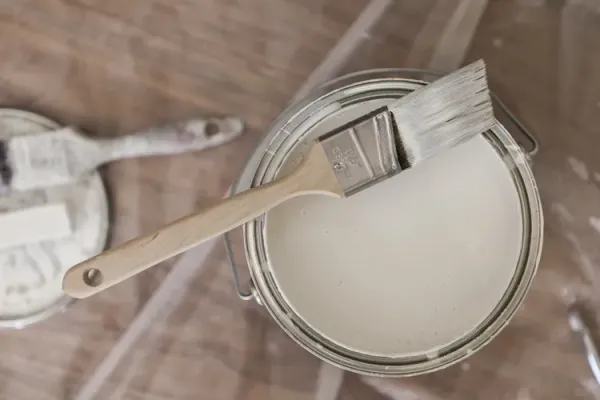
The tools used for applying primer and paint are equally important. Smith warns that a cheap brush leaves noticeable streaks, and the wrong roller nap can create unwanted texture or patchy coverage. If spraying, an incorrect spray tip can reduce efficiency and cause overspray or thin coverage. Beyond selecting high-quality tools, proper technique is essential. Peralta notes that overloading a brush or roller leads to drips on the wall and splatter on surrounding surfaces—and on the painter.
While investing in a good set of brushes is advisable, experts also recommend spending time learning how to use them correctly. Mastering even application techniques prevents common issues like streaks, drips, and uneven finishes, ensuring a professional-looking result.
These three steps—cleaning, priming, and using the right tools—are the difference between a paint job that looks great for years and one that fails prematurely. For DIY enthusiasts and renovation pros alike, following this advice can save time, money, and frustration in the long run.

Leave a Comment